What does preserved moss need before it becomes wall art?
Before preserved moss can be mounted in a frame, it must go through a preparation process that ensures it will stay stable, colourfast, and clean for years. The key requirement is that the moss must be fully dry yet flexible, treated to resist mould and fading, and free of loose debris that could shed inside the frame. Without these steps, the finished piece can develop discolouration, odour, or a patchy appearance that ruins the look of a preserved moss wall art installation.
Why preparation matters for preserved moss art
Preserved moss is not the same as dried moss. Dried moss is brittle and crumbles easily; preserved moss has been treated with a glycerin-based solution that replaces the water inside its cells, keeping it soft and pliable while stopping it from rotting. This chemical preservation is what gives the moss its long lifespan and its ability to hold colour indoors without light or water. But the treatment itself can leave residues or uneven saturation, and if the moss is not handled correctly after that process, problems show up once it is sealed behind glass or inside a shadow box.
Anyone building a preserved moss frame at home or selecting a ready-made piece from a supplier such as mosswallart.design benefits from understanding what happens before the moss meets the frame. The short version is: the moss needs to be conditioned, cleaned, and sometimes re-dyed or texturised so that it sits evenly and looks natural when displayed.
Moisture content must be stable
Preserved moss feels damp to the touch when it first arrives from a supplier. That is normal, but it cannot go straight into a sealed frame. Any excess moisture trapped inside the frame can encourage mould growth on the backing board or on the moss itself, even though the moss has been treated to resist decay. The moss needs to air out for a period - usually between 24 and 72 hours depending on the room's humidity - until it feels dry to the touch but not brittle. If it is too wet, the frame can fog on the inside or develop a musty smell within a few weeks.

On the other hand, if the moss dries out too much, it becomes stiff and loses the soft, spongy texture that makes preserved moss art look alive. The trick is to let the moss rest in a space with moderate humidity and air circulation, checking it by hand every day. A good sign is when the moss holds its shape when squeezed gently and bounces back without cracking.
Cleaning and removing loose particles
Preserved moss often arrives with small bits of bark, dust, or loose fragments that shook free during shipping. These particles look unsightly under glass and can settle into the corners of the frame, creating a messy appearance. Before framing, the moss should be gently shaken or brushed with a soft, dry paintbrush to dislodge any debris. For sheet moss and cushion moss, you can also use compressed air on a low setting to blow out dust from the deeper layers without damaging the surface.
Reindeer moss, which has a branching, coral-like structure, tends to hold onto dust more stubbornly. A light rinse with distilled water is possible for this type, but only if the moss is already fully preserved and you let it dry thoroughly afterward. Most suppliers recommend dry cleaning only, because any added moisture can dilute the preservative and shorten the piece's life.
Colour correction and evenness
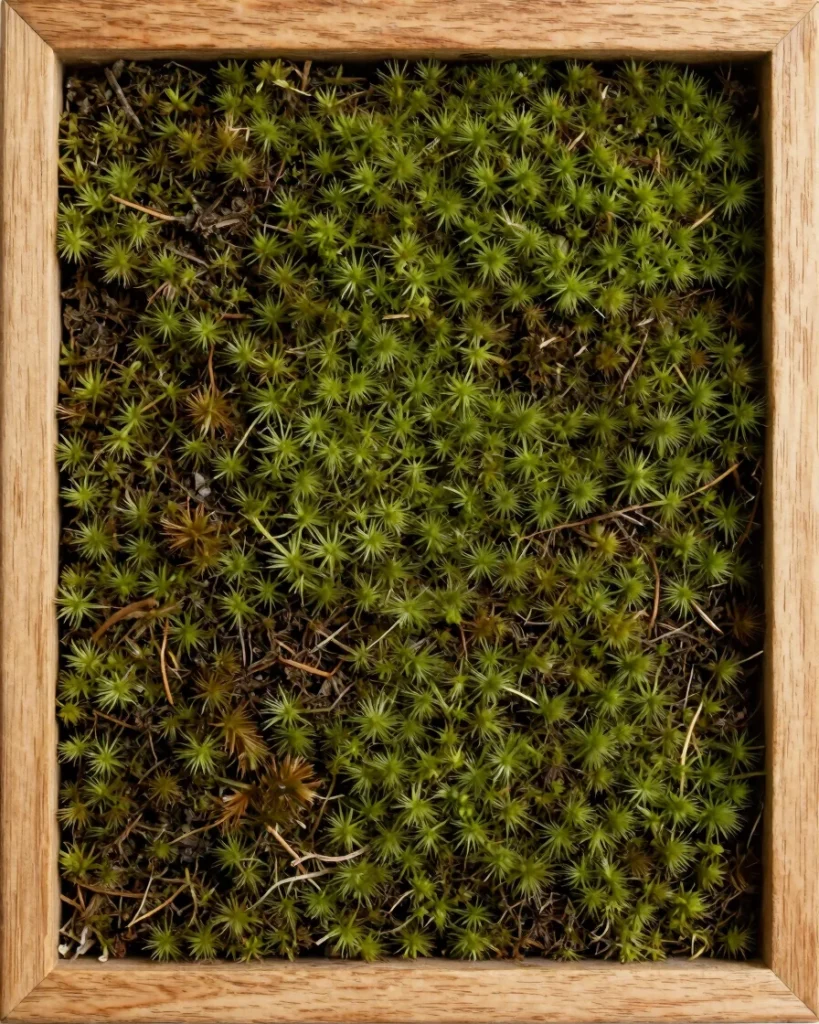
One of the biggest surprises for newcomers to preserved moss art is that the colour of the moss can vary noticeably from batch to batch, and even within a single bag. This is natural: the preservation process does not fix colour perfectly, and different species absorb the glycerin and dye differently. Sheet moss tends to be a deep green, cushion moss a softer olive, and reindeer moss often comes in vivid green, yellow, or even pink tones if dyed. When you are composing a frame, these differences can either be a feature or a problem.
If you want a uniform look, you may need to mix the moss pieces by hand, turning them over and pulling apart clumps so that the lighter and darker sections blend. Some people also apply a small amount of moss-safe dye or colourant to even out patches, but this is a delicate step: too much dye can make the moss look artificial, and the wrong type can react with the preservative and cause fading. A safer approach is to layer the moss so that the natural variation reads as texture rather than inconsistency.
Backing and adhesive choice
The moss itself might be ready, but the frame's backing also plays a role in how well the preserved moss art holds up. The backing board should be rigid enough to support the moss without bowing, and it should be sealed or coated to prevent moisture from the moss (even the small amount that remains) from soaking into the board and causing warping. Many framers use a layer of felt or foam board glued to a plywood base, which gives the moss something to grip onto while also protecting the frame from moisture.
For the adhesive, hot glue is common because it sets quickly and holds heavy pieces like reindeer moss firmly. But hot glue can also create lumps under thin sheet moss, so some makers prefer a spray adhesive or a tacky glue that spreads evenly. Whichever method you choose, the adhesive must be fully dry before the frame is closed, or it will off-gas inside the frame and possibly stain the moss.
Arranging the composition
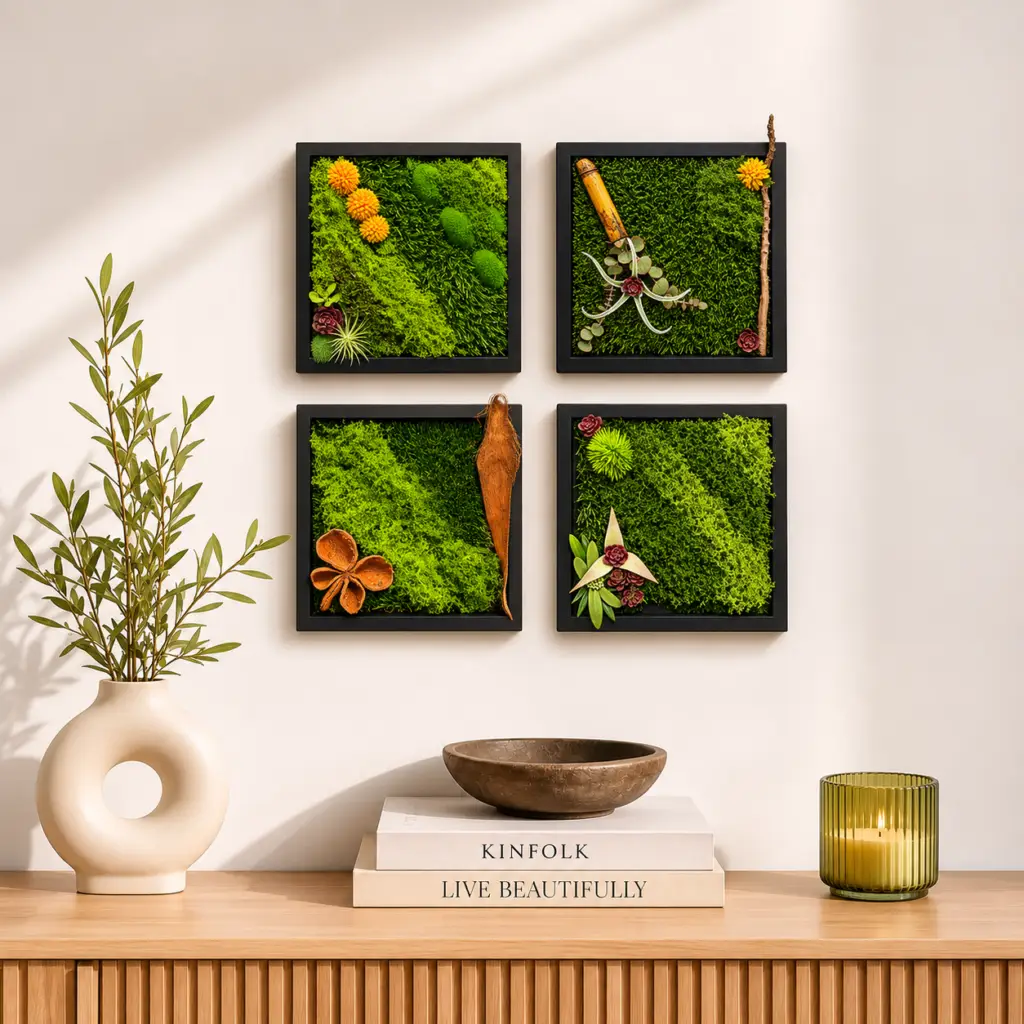
Once the moss is dry, clean, and the right colour, the final step before framing is arranging it in a way that looks natural and balanced. This is where the craft of preserved moss wall art really shows. The moss should be placed so that the surface texture changes across the frame - a patch of cushion moss next to a fluffier sheet moss, for example, or a line of reindeer moss that draws the eye. The arrangement should not look too symmetrical, because natural moss grows in unpredictable clumps. A little overlapping at the edges helps hide the frame's inner border and gives the piece depth.
At this stage, some people also add small accents like preserved ferns, dried flowers, or stones. These extras need the same preparation: they must be dry, dust-free, and treated if they are to last inside a sealed frame. If you are buying a ready-made piece from a specialist like mosswallart.design, the composition work is already done, but knowing what went into it helps you care for the art properly once it is on your wall.
Common mistakes to avoid
One frequent mistake is putting moss directly into a frame right after unpacking it, assuming that because it is preserved it is ready. That often leads to a patchy finish as the moss settles and shifts while drying. Another is using too much adhesive, which seeps through the moss and discolours it. A third is ignoring the humidity of the room where the frame will hang: a bathroom or a kitchen with steam can cause the moss to absorb moisture and eventually mildew, even if the frame is sealed. Preserved moss art is best suited for interior spaces with stable humidity, such as living rooms, hallways, and offices.
By taking the time to condition, clean, and arrange the moss properly, you ensure that the finished frame will look fresh and natural for years. The effort before the frame closes is what separates a piece that fades or sheds from one that stays beautiful and low-maintenance.